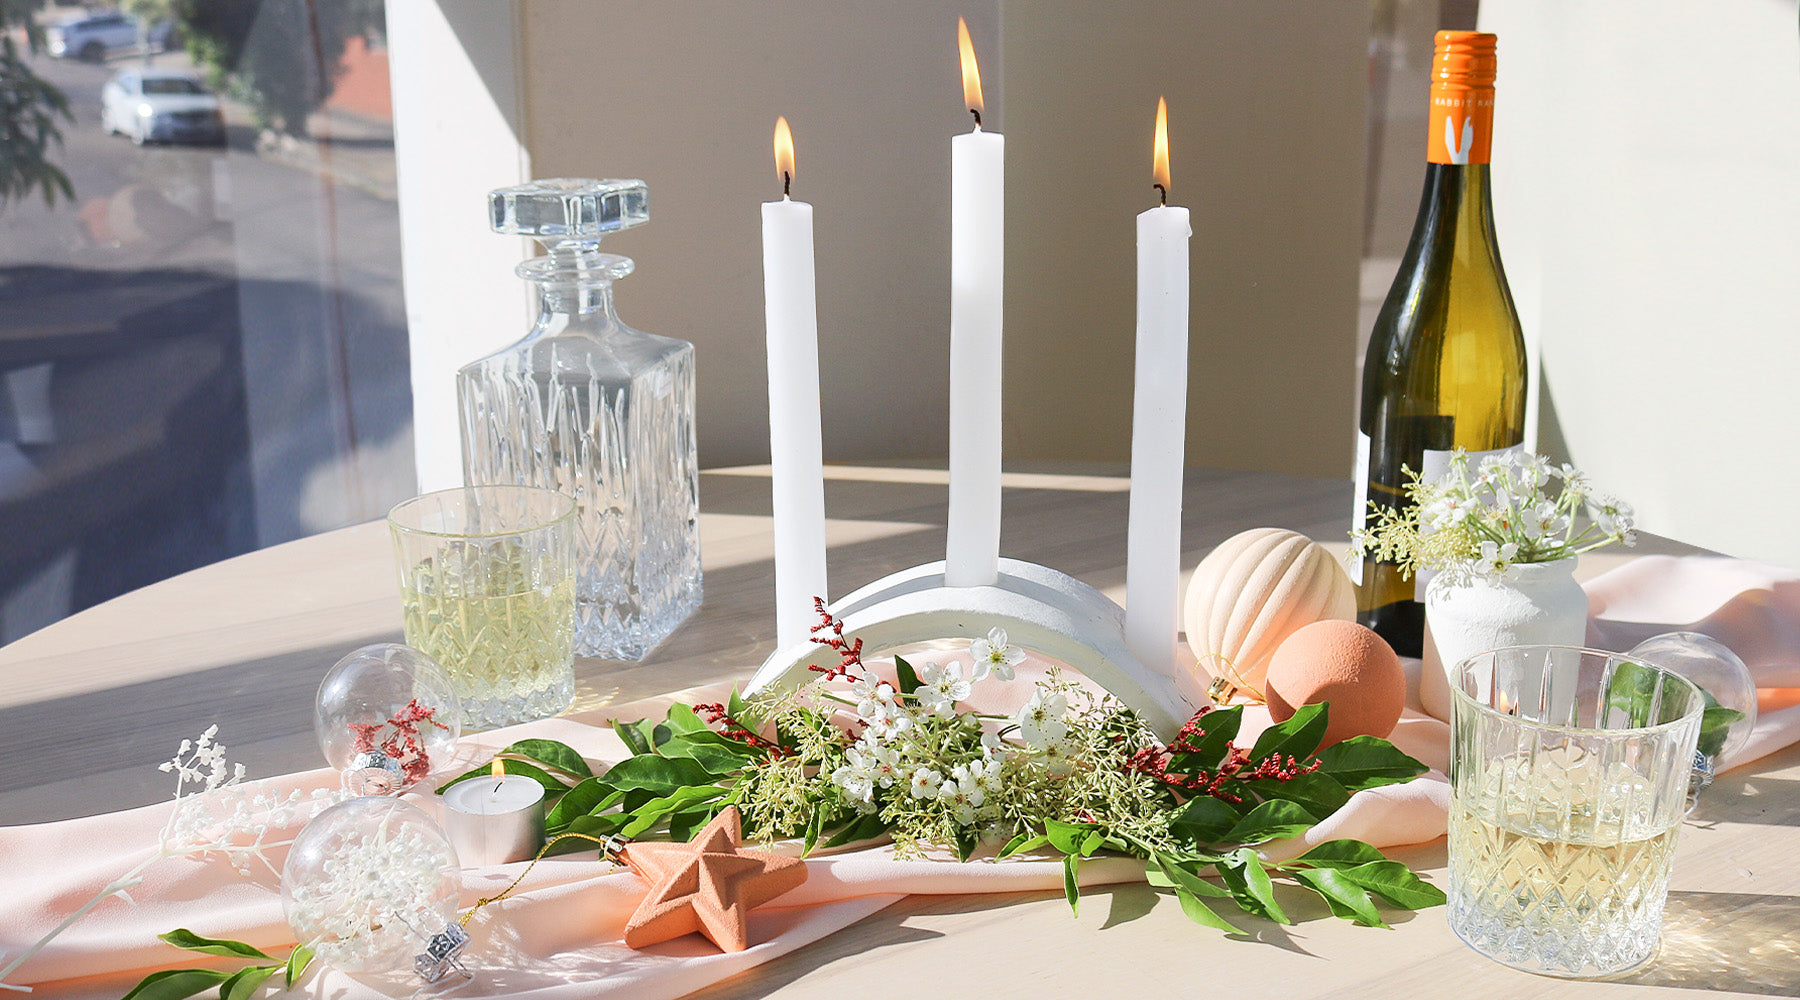
DIY Terracotta Baubles
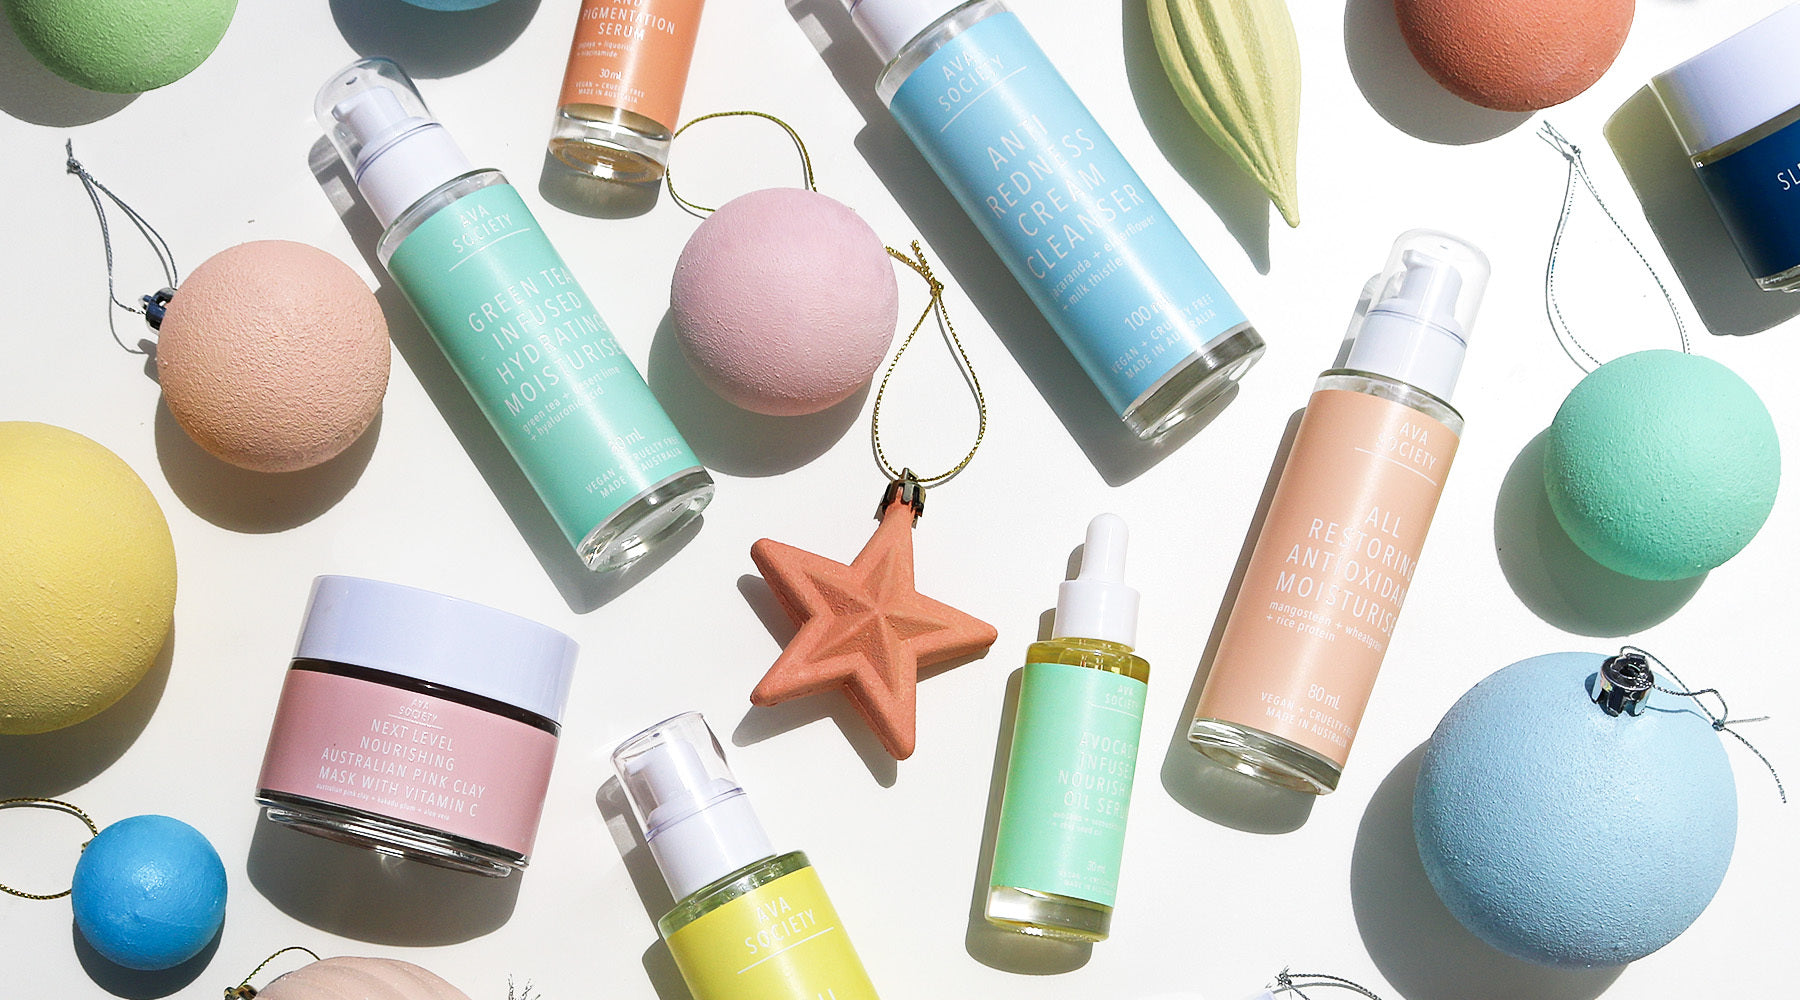
Our team absolutely loved the ‘Trash To Terracotta’ DIY method by Geneva Vanderzeil, It was such a simple upcycle that looked amazing and could be personalised in countless ways. We thought we’d test out the technique on some old baubles that were in desperate need for some upcycling! For the colour palette, we were inspired by the calming pastel tones of our bottles. The ‘faux clay’ finish really enhanced the softness of these colours and we couldn’t be happier with the end results.
What You Need:
- Acrylic Paint
- Baking Powder
- Old Ornaments
- Paint brushes
- Skewers
- Old cardboard box
Firstly, you need to remove the tops of the baubles. This allows you to place the baubles on skewers to help you paint without getting any fingerprints on it and it also helps with the drying process later on. Try to go for a thicker skewer that fits your bauble opening, as it’ll help stabilise your bauble while you’re painting it.

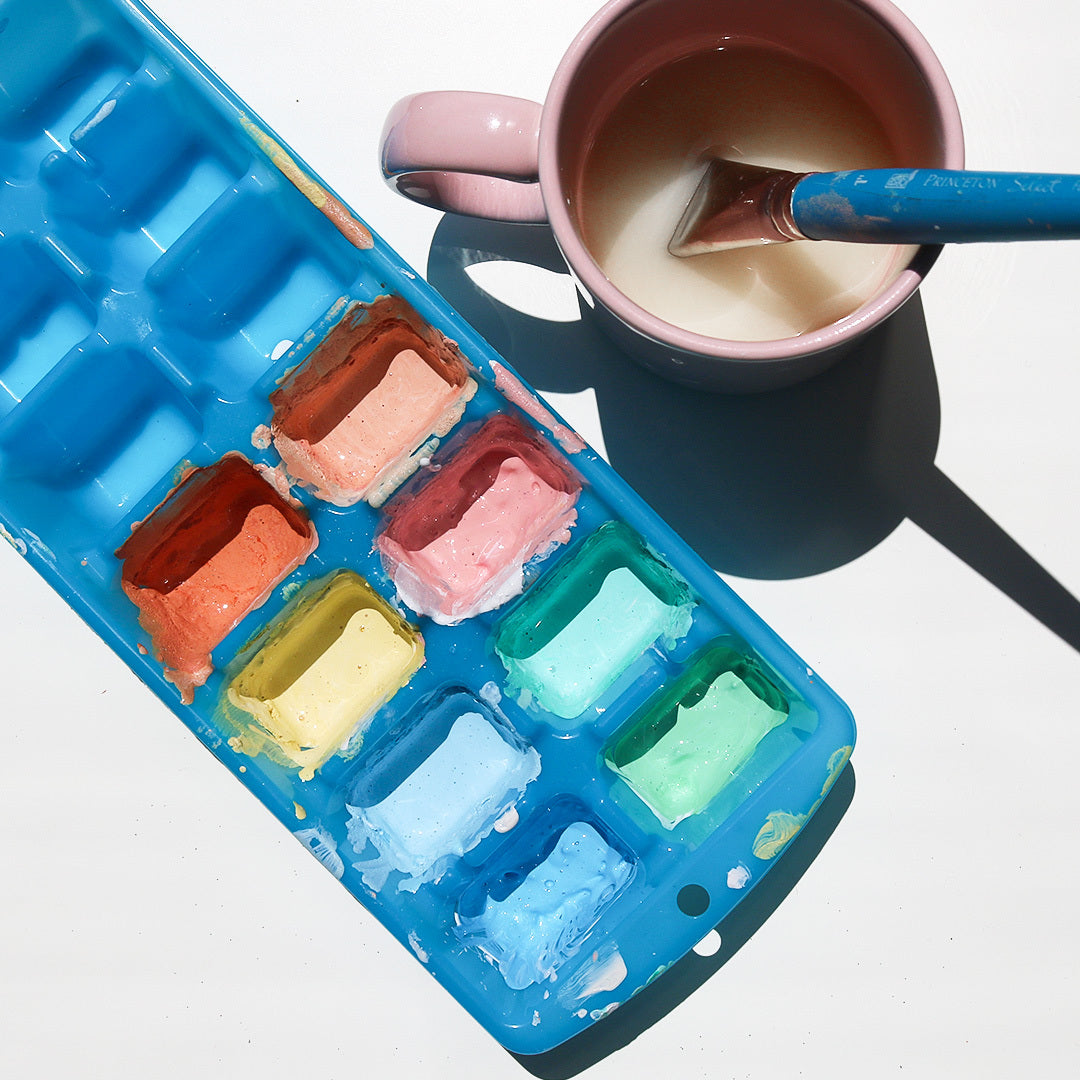
For every half cup of paint, you will need 1 teaspoon of baking powder. Feel free to increase or decrease this recipe depending on how much paint per colour you need, just make sure to stick to these ratios. Quickly stir these 2 ingredients together and your paint mixture should start to foam and double in size.
Pro Tip: If you’re using a lot of different colours like us, we 100% recommend using an old ice tray for your palette! This tray was super helpful for mixing all the different colours we wanted and also helped keep them separate (especially when we mixed in the baking powder and the paint doubled in size).
Paint your baubles and stick the skewer into an old cardboard box (a tissue box would be perfect) for it to dry in between coats. You’ll need around 3-4 coats per bauble. Glitter baubles will actually be the easiest to paint! Due to the grainy texture, you won’t need to worry too much about excess paint streaks and it won’t require as many coats. If your baubles are glossy then just take your time to paint thin and even coats to get the best finish.

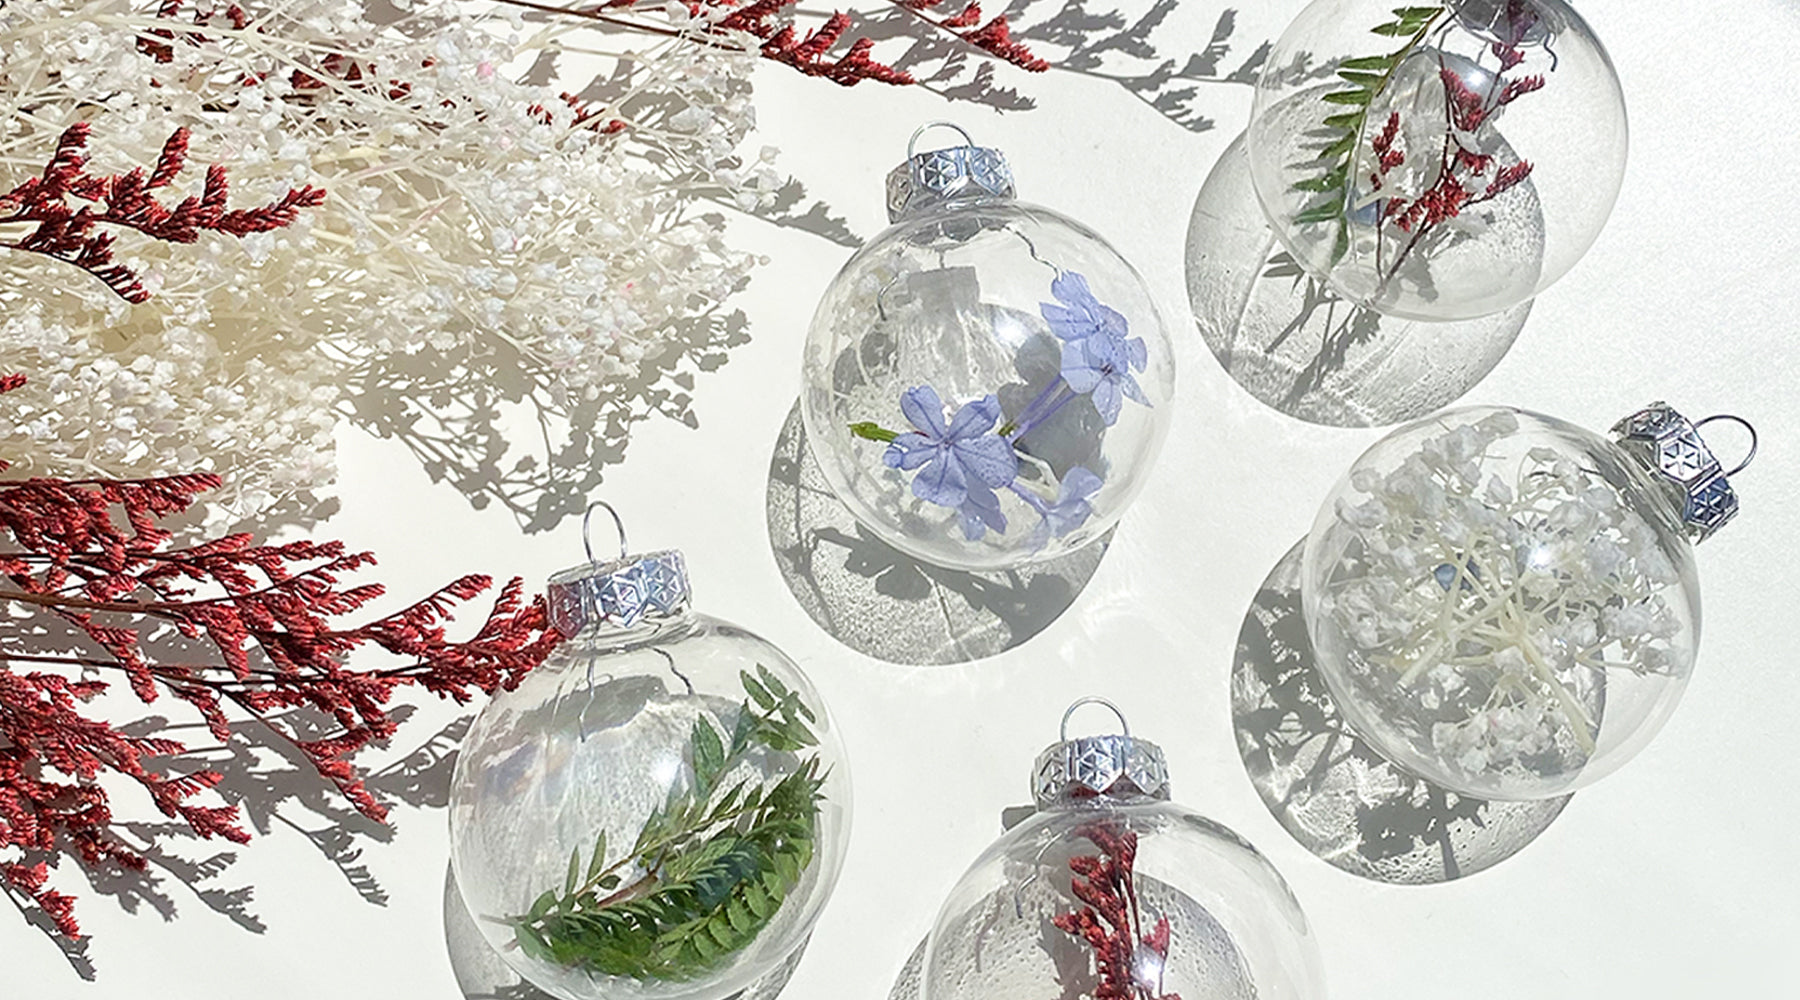
Once fully dried and you can’t see any of the original base, place the tops back on the baubles and enjoy your new decorations!
