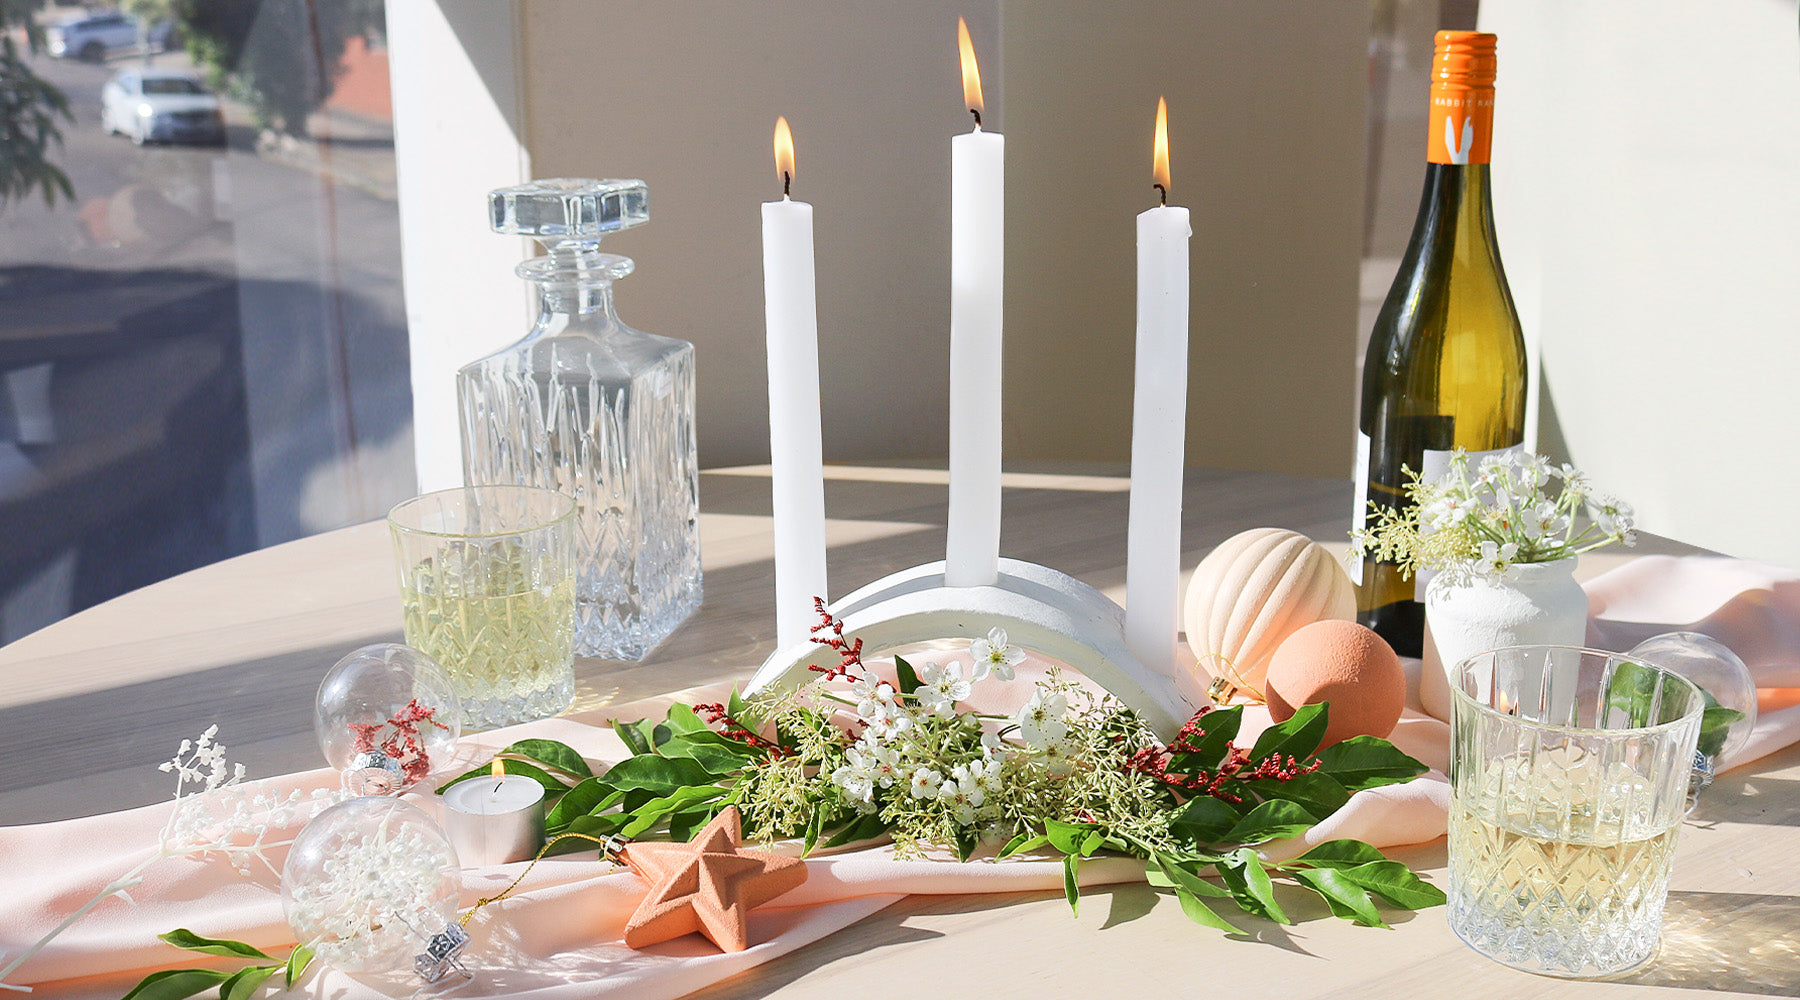
DIY Candle Centrepiece
Our DIY Candle Centrepiece adds the perfect structural element to any table setting but we especially love that you can spend time with your family and friends to make this together. You guys know we’ve always loved our little DIYs and we think handcrafting your decorations with your loved ones is an adorably sentimental and eco-friendly approach to holiday décor.

1. Roll white and grey air dry clay into thin and long logs (Feel free to add black clay if you want a more dramatic marble effect).
2. Twist the pieces together to create one single log.
3. Roll the log so it becomes thinner and doubles in length.
4. Fold in half and twist into a single log again.
5. Brush your clay with water if any cracks form at any point.
6. Repeat these steps until the marble effect is subtle and wispy.
7. Form your clay back into a thick log and roll out into a long oblong shape. Make sure your clay is at least 1.5cm thick
8. Trim the edges to create an 8cm x 30cm rectangle.
9. Mark 3 even points on the clay and carefully cut out 3 openings that are 1cm deep and fit the width of your candlesticks (our holes were 2cm wide)
10. Brush your clay with a final coat of water to create a smooth finish.
11. Prop your clay up in between 2 heavy items to create an arch.
12. Place your candlesticks back into the holes made earlier and press them in deeper. Don’t worry if you can see indents on the underside.
13. Allow this to dry completely.
14. If it's wobbly, sand down the ends to help it stand more securely.
Always be careful and in attendance when using this! We highly recommend slightly melting the ends of your candlesticks to help secure them inside the holes.
